Woodturning
Discover the joy of woodturning with our Men's Shed! Join us for hands-on workshops, camaraderie, and the satisfaction of creating something beautiful with your own hands. All skill levels welcome!
Woodturning
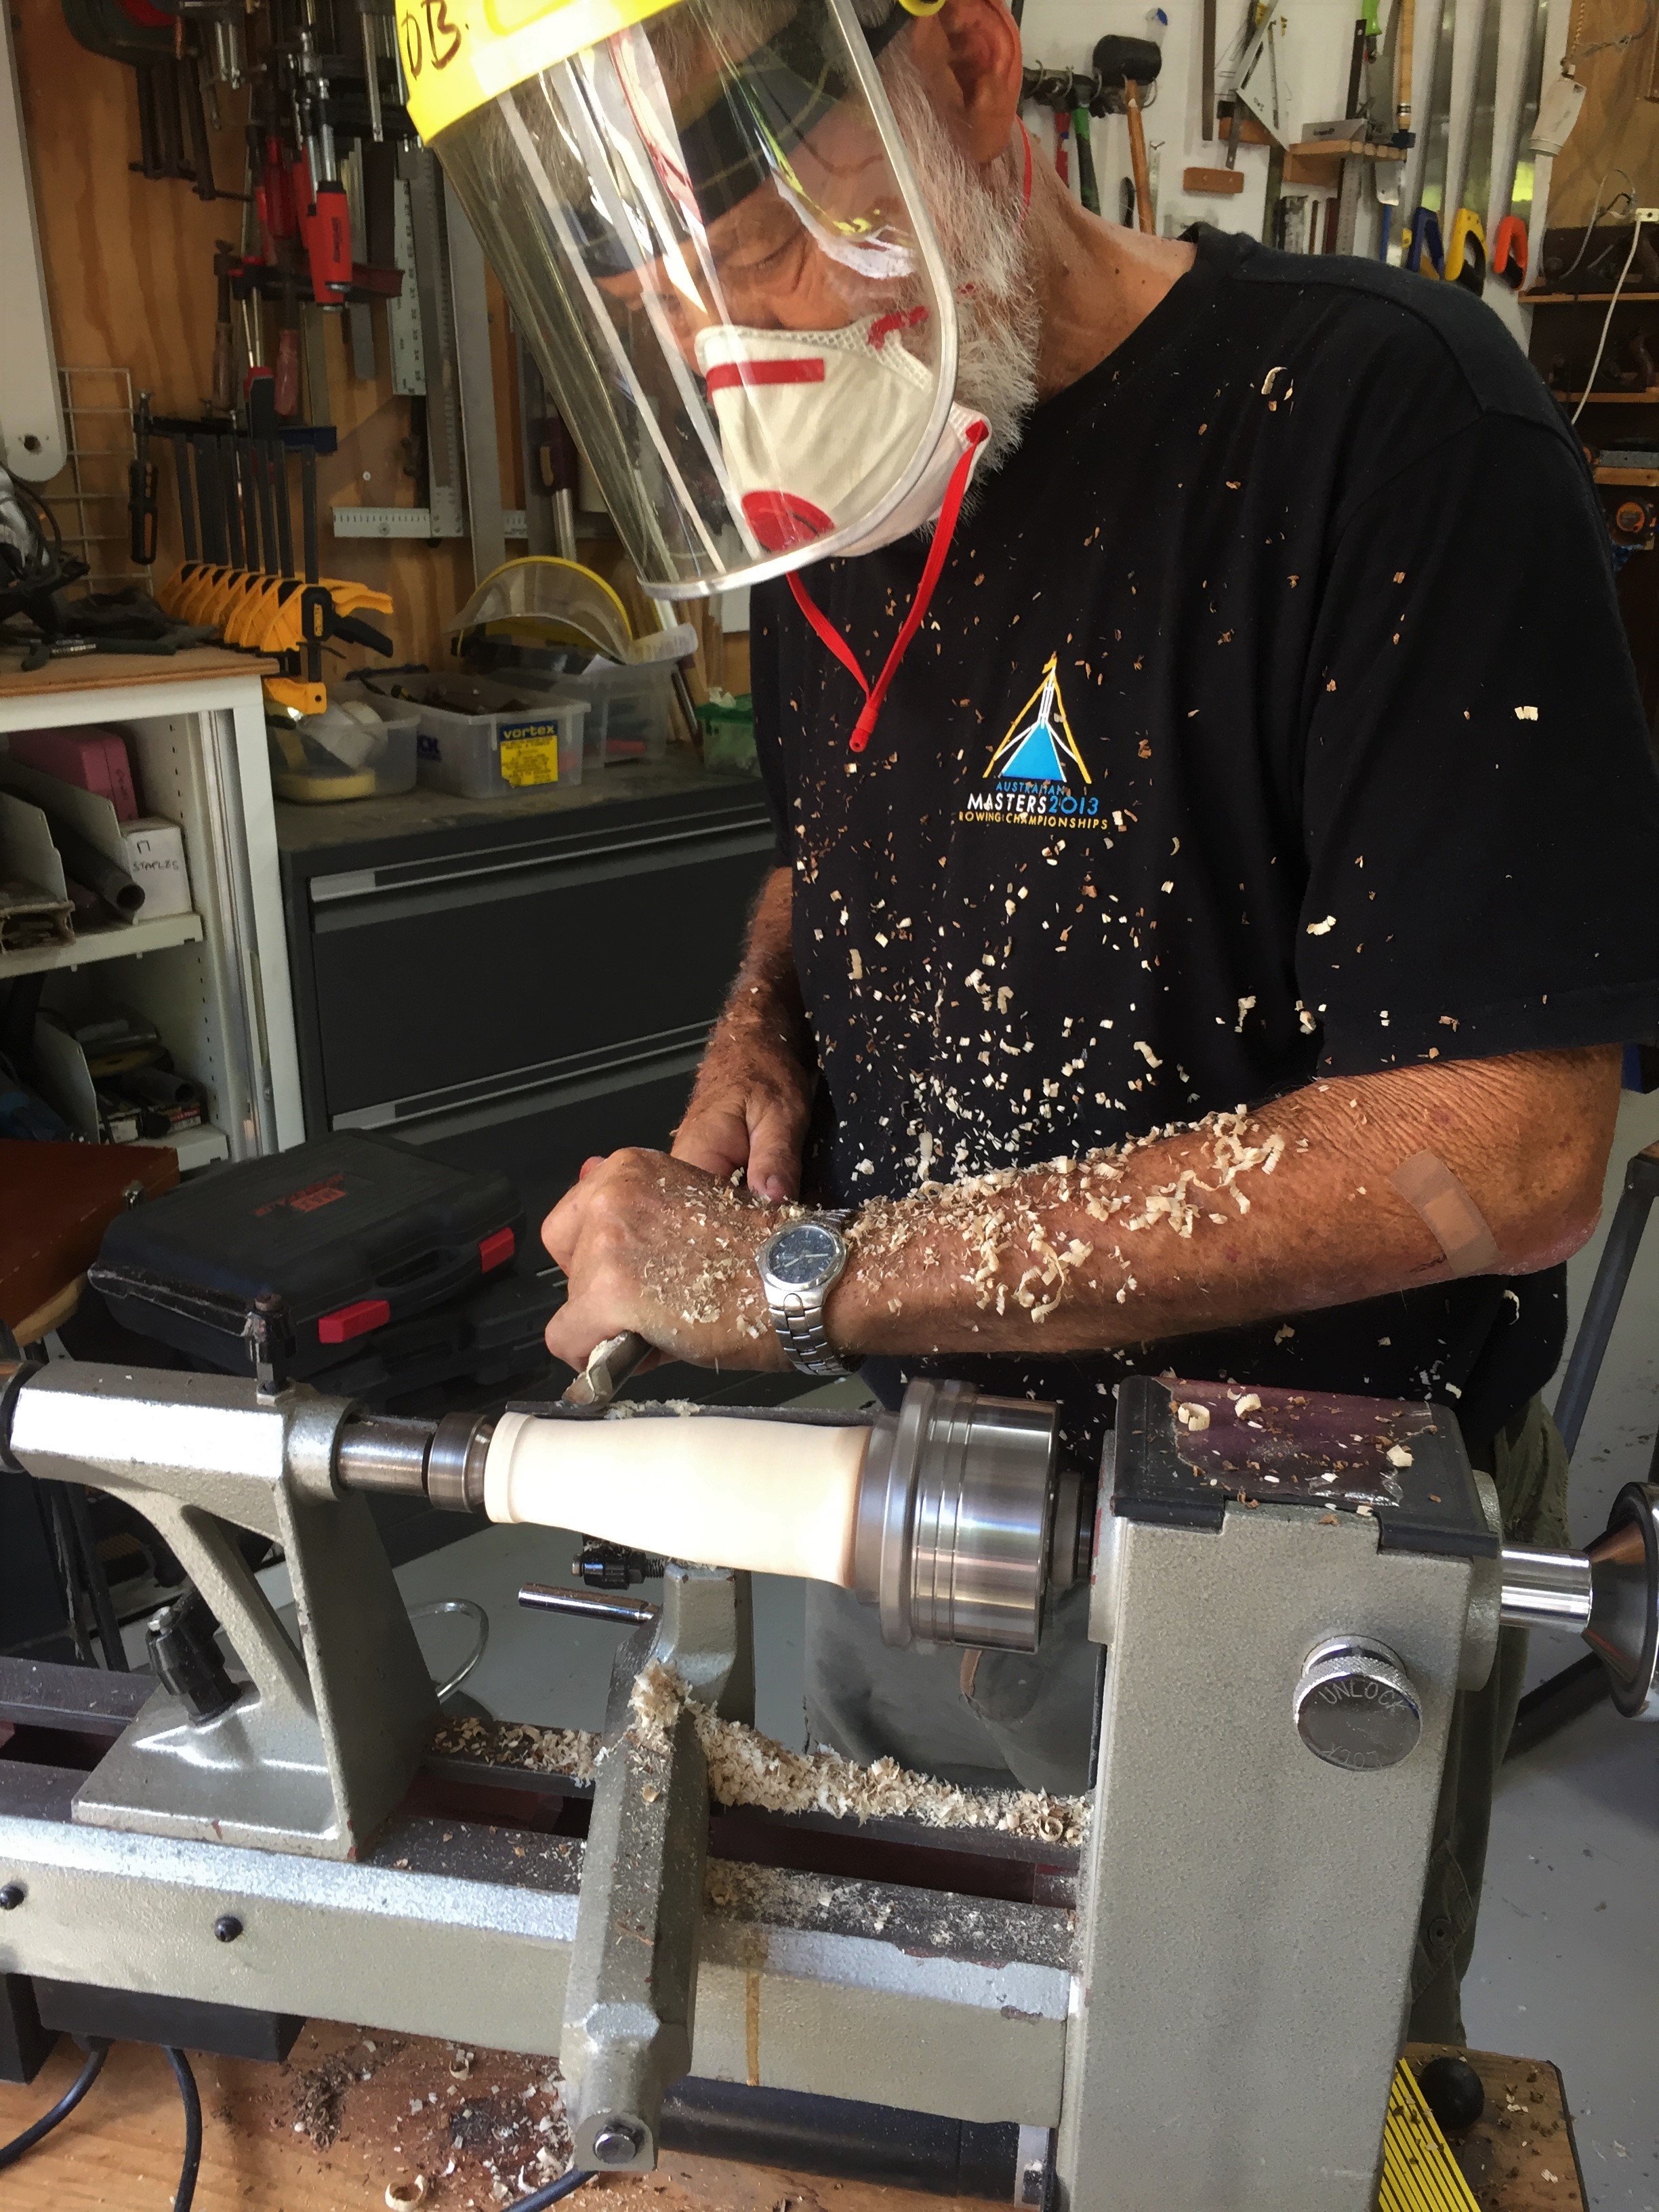
The Shed has three variable speed midi-lathes and a collection of basic tools for woodturning that currently are free be used by members for woodturning on Monday and Thursday afternoons. Members new to woodturning are taught safe use of the tools and equipment and after receiving guided instruction are free to continue with their own projects.
INTRODUCTORY WOODTURNING COURSE
This course is run periodically on Monday afternoons when two or three trainees register their interest.. It is a structured course because over the years of teaching Shed members to turn wood it has been found that is the best way to give trainees a through grounding in woodturning. The course consists of a series of projects (shown below) which have been selected to introduce trainees to a range of turning techniques so that they can confidently handle their own projects after completing the course. At the end of the course trainees have a real sense of achievement plus a collection of turned objects to show off to admiring relatives and friends.
If you are interested in learning woodturning, contact Garth Forster (imswoodworking@gmail.com) – Monday afternoon sessions or Bruno Pinese (bruno.pinese29@gmail.com) – Thursday afternoon sessions. Include your phone number so that we can discuss any queries you may have about the course.
Introduction to woodturning
Parts of the lathes
Characteristics of the Shed’s lathes
Turning tools
Faceplate and between centres turning
Chucks and jaws
Mounting wood in the lathe
Safety warnings
Demonstration of the steps in turning a bowl
A little hands-on turning to get the feel of things
Sanding and sequence of paper grades
Polishes and finishes
Turning a simple bowl
(applying what you learnt earlier)
Mounting a bowl blank on a faceplate
Turning a spigot/tenon
Using gouges and scrapers
Reverse mounting the bowl into a chuck
Hollowing the bowl without cutting through the bottom
Sanding through the grades without leaving scratches
Applying a finish
Turning a shallow platter
Figuring out how to mount a shallow blank
Turning a recess
Using gouges and scrapers
Hollowing the platter without cutting through the bottom
Sanding through the grades without leaving scratches
Making a jam chuck to clean up the bottom
Applying a finish
Turning and decorating a flat candle holder
Thinking about what you are going to do
Figuring out how to mount the blank
Shaping the blank to an aesthetically pleasing shape
Hollowing so that the insert fits exactly
Removing all traces of how the base was cleaned up
Sanding perfectly
Decorating the outside with pyrography and colouring
Applying a finish
Turning a carver’s mallet
Mounting wood between centres
Using a spindle gouge
Achieving an ergonomic shape
Learning to use a skew chisel to smooth off
Sanding
Using a parting tool to part off the mallet
Applying an oil finish
Turning a bud vase (for a single bloom or mini arrangement)
Mounting wood between centres
Cutting a spigot
Preliminary shaping
Thinking about the overall shape
Planning the depth of the hole for the test tube
Centre boring the hole for the test tube
Turning to a final shape that is suitably stable
Sanding
Applying the finish
Removing the spigot
Completing the bottom
Turning a cylindrical box with a loose fitting lid
Selecting a suitable piece of wood
Thinking about what you are about to do
Rough turning and marking out proportions
Using calipers
Shaping and hollowing carefully
Sanding and finishing
Amazing yourself when the lid fits perfectly
Making a gavel
Selecting pieces of timber fit for purpose
Mounting the gavel head held in a chuck
Using calipers to achieve a symmetrical shape
Drilling a mortice hole dead centre in the gavel head
Spindle turning the handle
Progressively sanding and finishing the two parts
The best way to find out what each group does is to attend one of its activities on a no-obligation trial basis.
All groups start, sink or swim based on interest, energy and innovation of the members attending. IMS is committed to concensus and innovation driven by the members for the members.


